Why Signals Matter for Solana DEX Trading
Solana memecoin and DEX trading is fast, noisy, and mostly unstructured. New tokens appear on Pump.fun, migrate to Raydium or Meteora, and can move 50%+ in minutes. Tools like Birdeye, DexScreener, and Solscan show you what already happened, but they don’t tell you when your specific conditions are met in real time.
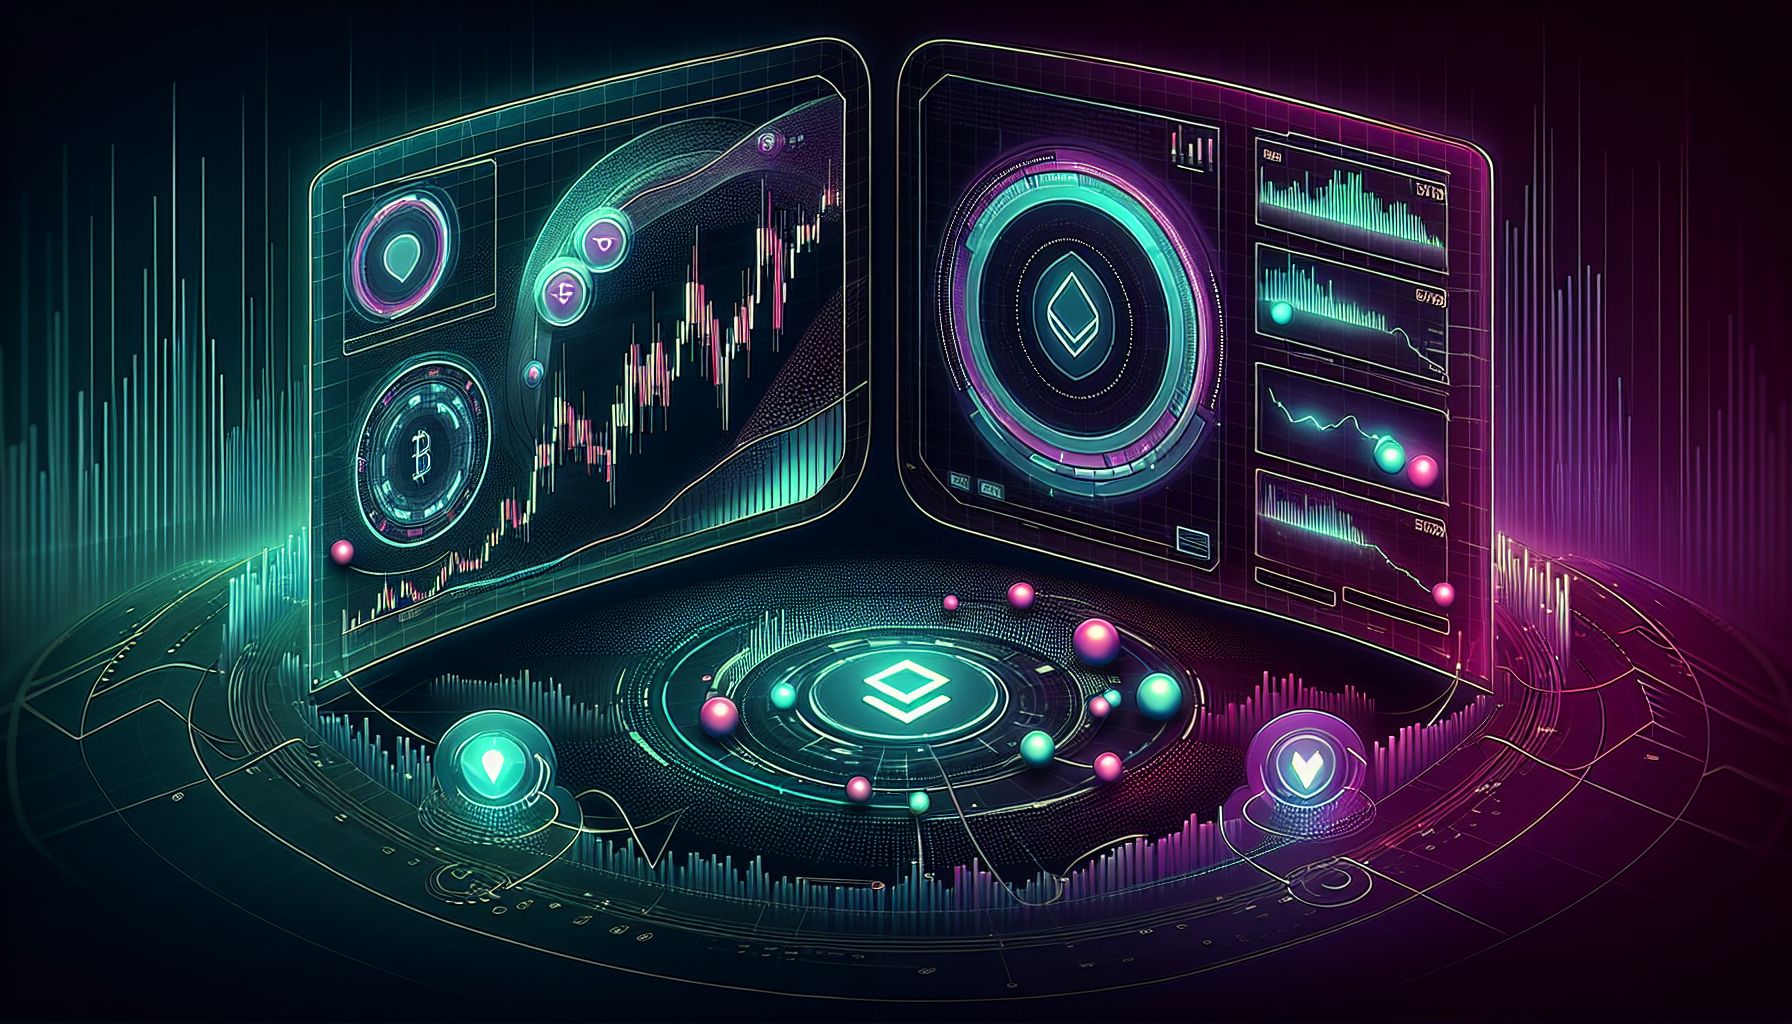
That’s where PumpView signals come in.
PumpView.fun is a real-time Solana DEX trade scanner that streams swaps from PumpSwap, Raydium, Meteora and other Solana DEXes. It layers this live feed with:
- Hot Tokens ranking with a Buy Score (0–12)
- Early Scanner bubble view for very new tokens
- Wash Score (0–100%) to flag likely fake volume
- Custom signal strategies with alerts
- Live trade stream + Solana TPS chart
This article focuses on PumpView signals: how they work conceptually, how to build practical strategies around them, and how to avoid common traps when automating your decision-making.
Note: Exact UI labels may evolve, but the core ideas—combining real-time trades, scores, and filters into reusable signal rules—remain the same.
What Are PumpView Signals?
In PumpView, a signal is a rule-based condition that fires when on-chain activity matches your criteria. Instead of staring at charts all day, you define:
- What kind of token you care about (e.g., new Pump.fun graduates, existing Raydium pairs)
- What kind of flow you want to see (e.g., strong net buys, rising Buy Score)
- What kind of risk filters you require (e.g., low wash trading, minimum liquidity)
When those conditions are met, PumpView can:
- Highlight the token in your interface
- Trigger an alert (e.g., browser, Telegram/Discord/webhook depending on your setup)
- Let you quickly drill into the live trade stream and external tools (Birdeye, DexScreener, Solscan, etc.) before you decide to trade
PumpView is not an execution bot. You still place trades via your wallet (Phantom, Backpack, etc.) or aggregators like Jupiter. Signals are there to surface opportunities and risks in real time, not to replace your judgment.
Core Building Blocks: Buy Score, Wash Score, and Flow
Before you build strategies, you need to understand the key PumpView-specific components that typically go into signals.
1. Buy Score (0–12)
PumpView’s Buy Score is attached to tokens in the Hot Tokens list. It’s a composite score (0–12) that reflects recent buy-side pressure and quality of flow. While the exact formula is proprietary, the behavior is straightforward:
- Higher score → stronger, more consistent buying in the recent window
- Lower score → mixed or sell-dominated flow
Practical implications:
- A token jumping from Buy Score 3 → 8+ usually means buying momentum is building.
- A token sitting at 10–12 for a while often indicates sustained aggressive buying, which can be late if you’re chasing.
2. Wash Score (0–100%)
Wash trading is a real issue on Solana. There are public services and even commercial bots advertising “volume boosters” that simulate natural-looking buys/sells from many wallets to push pairs into trending lists on DexScreener and similar sites. (reddit.com)
PumpView’s Wash Score (0–100%) is designed to estimate how much of the volume looks like wash trading:
- 0–20%: Flow looks mostly organic
- 20–50%: Mixed; some suspicious patterns
- 50%+: Likely heavy wash trading / manufactured volume
Internally, this uses patterns like:
- Repeated alternating buys/sells from the same or tightly linked wallets
- Many tiny trades that net to near-zero exposure
- Volume spikes with no corresponding liquidity or holder growth
You should treat high Wash Score as a red flag, especially when combined with:
- Thin liquidity
- Aggressive marketing or paid shill activity
3. Real-Time Trade Flow
PumpView streams live swaps from:
- PumpSwap / Pump.fun-related AMMs
- Raydium (CPMM and CLMM pools)
- Meteora DLMM and other supported Solana DEXes
This lets signals look at:
- Buy vs sell count in a recent time window
- Net SOL in vs out
- Trade size distribution (e.g., many small snipes vs a few large wallets)
Combined with Buy Score and Wash Score, you can build nuanced rules like:
“Alert me when a new token has strong net buys from fresh wallets, but minimal signs of wash trading.”
Types of PumpView Signal Strategies
You can think of PumpView strategies in three broad buckets:
- Early momentum entries
- Trend continuation / add-on entries
- Risk / exit warnings
Below are practical examples for each, using PumpView-native concepts.
1. Early Momentum Entry Signals
Goal: Catch tokens early when real buyers are stepping in, but before they’re overcrowded.
A typical early-entry PumpView signal might look like:
- Universe
- Tokens appearing in Early Scanner (very recent launches / migrations)
- Momentum conditions
- Buy Score rising into 5–8 (not yet maxed)
- Net buys > net sells over the last N minutes
- Quality filters
- Wash Score < 30%
- Minimum liquidity threshold (e.g., at least a few SOL in the pool)
How to use it:
- Let PumpView alert you when a token first matches these conditions.
- Open the token in Birdeye or DexScreener to check:
- Price structure (vertical candle vs more controlled climb)
- Liquidity and FDV
- Check Solscan or a tool like Solyzer for:
- Holder distribution
- Dev / deployer wallet behavior (e.g., large sells, liquidity pulls)
- If it passes your checks, route the trade via Jupiter or your preferred DEX.
Key point: You’re using PumpView to narrow the firehose of new tokens down to a small set that show real early momentum.
2. Trend Continuation / Add-On Signals
Goal: Add to winners or re-enter strong trends on pullbacks.
A continuation-focused PumpView signal might look like:
- Universe
- Tokens in Hot Tokens list with sustained activity
- Trend conditions
- Buy Score ≥ 9 for at least X minutes
- Net SOL inflow positive over the last Y minutes
- Pullback / reset condition
- Short-term dip in price (you can approximate this by combining:
- Slight drop in Buy Score (e.g., 12 → 9)
- Temporary increase in sells vs buys
- Quality filters
- Wash Score < 40% (you accept some gaming but not extreme)
How to use it:
- Let the signal fire when a strong token experiences a controlled pullback while still showing net buy-side interest.
- Confirm on Birdeye/DexScreener that:
- The pullback is not a full distribution top (no blow-off top structure)
- Liquidity is still intact
- Use limit orders via Jupiter or directly on Raydium CLMM where possible to avoid slippage.
Here, PumpView’s job is to time your attention—you don’t want to watch every strong token all day, but you do want to know when the best ones pull back into your risk zone.
3. Risk / Exit Warning Signals
Goal: Get warned when the character of flow deteriorates or risk spikes.
A defensive PumpView signal might look like:
- Universe
- Tokens you already hold (you can maintain a watchlist)
- Risk conditions (any of these can trigger)
- Wash Score jumps from <20% to >50% quickly
- Sudden surge in sells vs buys in the last N minutes
- Buy Score collapses (e.g., 9 → 2) while volume remains high
How to use it:
- When the signal fires, immediately check:
- Solscan for big holder / dev sells
- Liquidity on the DEX (Raydium/Meteora) to see if LP is being pulled
- Decide whether to:
- Tighten your stop-loss
- Scale out partially
- Exit entirely
This turns PumpView into a real-time risk dashboard instead of only an entry-hunting tool.
Building Your First PumpView Signal Strategy (Step-by-Step)
Here’s a simple, concrete workflow you can adapt.
Step 1: Define Your Universe
Decide which part of Solana you want to trade:
- Pure degen: Only Early Scanner tokens (fresh Pump.fun / PumpSwap launches, new Raydium pairs)
- Mid-risk: Hot Tokens with some age and liquidity
- Conservative: Only tokens above a certain liquidity / market cap threshold (you can cross-check on Birdeye or DexScreener)
Keep it narrow at first. Too broad a universe will spam you with signals.
Step 2: Choose 2–3 Core Conditions
Avoid complex 10-condition strategies. Start with:
- Momentum: Buy Score threshold or change (e.g., Buy Score ≥ 6 and rising)
- Flow balance: Net buys > net sells in the last X minutes
- Quality: Wash Score below a certain level (e.g., < 30%)
These three alone already filter out a huge amount of noise.
Step 3: Add Basic Risk Filters
You can’t rely on PumpView alone for safety, but you can avoid the worst setups by adding:
- Minimum liquidity (e.g., at least a few SOL in the pool)
- Optional: Exclude tokens with extreme Wash Score (> 70%)
Then, in your manual workflow, always:
- Check holder concentration and contract risks via Solscan, Solyzer, or similar tools
- Look for obvious red flags (mint authority not revoked, no liquidity lock, etc.)
Step 4: Configure Alerts
Signals are only useful if you see them in time.
- Set alerts for only your highest-conviction strategies
- Keep the number of active strategies small (1–3) while you learn
- Make sure alerts go where you actually look (browser notifications, Telegram/Discord/webhook depending on your setup)
Step 5: Log Outcomes
Even without full automation, you can track:
- Which signal fired
- What you did (entered, skipped, exited)
- Result after X hours/days
A simple spreadsheet or Notion page is enough. Over time, you’ll see which PumpView signal templates actually match your style and risk tolerance.
How PumpView Signals Fit With Other Solana Tools
PumpView is strongest at real-time trade flow and wash-trade-aware rankings. You’ll get the best results by combining it with other specialized tools:
- Birdeye / DexScreener – Price charts, liquidity, and volume context
- Solscan – Token metadata, holder distribution, dev wallets, and transaction history
- Jupiter – Best route execution across Solana DEXes, including Raydium and Meteora
- Solyzer / SolXRay – Additional safety scoring, rug-pull and honeypot checks (solyzer.ai)
A typical flow for an early-entry signal:
- PumpView signal fires (Early Scanner + Buy Score + Wash Score filters).
- Open token in Birdeye/DexScreener to see price and liquidity.
- Check Solscan + a safety tool (Solyzer/SolXRay) for red flags.
- If it passes, trade via Jupiter or your preferred DEX.
PumpView is the attention filter; the other tools are your due-diligence stack.
Common Mistakes When Using PumpView Signals
Even with good tools, it’s easy to misuse signals. Watch out for:
1. Treating Buy Score as a Buy Button
A high Buy Score means recent buy pressure, not guaranteed future returns. Chasing 12/12 scores after a vertical move is often late. Focus more on changes in Buy Score and how it behaves around pullbacks.
2. Ignoring Wash Score
Volume-boosting and fake activity are real on Solana. Services openly advertise streaming “authentic-looking” buys and sells to push tokens into trending lists. (reddit.com)
If you ignore Wash Score, you’re volunteering to be exit liquidity for manufactured hype.
3. Overfitting Signals
If you keep adding conditions until a backtest or short sample of trades looks perfect, you’re likely overfitting. Start simple, trade small, and iterate.
4. Skipping Manual Checks
No signal stack can fully protect you from:
- Devs pulling liquidity
- Hidden mint authority
- Social manipulation
Always do basic on-chain and social checks before committing size.
Conclusion: Turn Noise Into Structured Opportunities
Solana DEX trading is chaotic by design. Tokens launch on Pump.fun, migrate to Raydium and Meteora, and die or 10x in hours. Without structure, you end up doom-scrolling DexScreener and chasing whatever just pumped.
PumpView signals give you a way to:
- Define exactly what you want to see (momentum + quality + risk)
- Let the platform watch the chain for you in real time
- React only when your conditions are met, instead of the timeline’s
Start with one or two simple strategies:
- An early momentum entry signal using Early Scanner + Buy Score + Wash Score
- A risk warning signal that fires when Wash Score spikes or Buy Score collapses on tokens you hold
Combine PumpView with Birdeye, DexScreener, Solscan, and safety tools like Solyzer or SolXRay, and you’ll move from reactive FOMO to systematic, signal-driven trading on Solana.